When a project has used a lot of containers, it will be difficult to manage it, so there is an orchestration tool that makes it easy to manage container resources, for example kubernetes and docker swarm. However, the use of kubernetes in some people has difficulty in configuring it, so if you want to be simple, you can use docker swarm.
In this article I will discuss how to use docker swarm from start install to deploy a project.
Table of contents
Open Table of contents
Prerequisites
- Digital Ocean Account

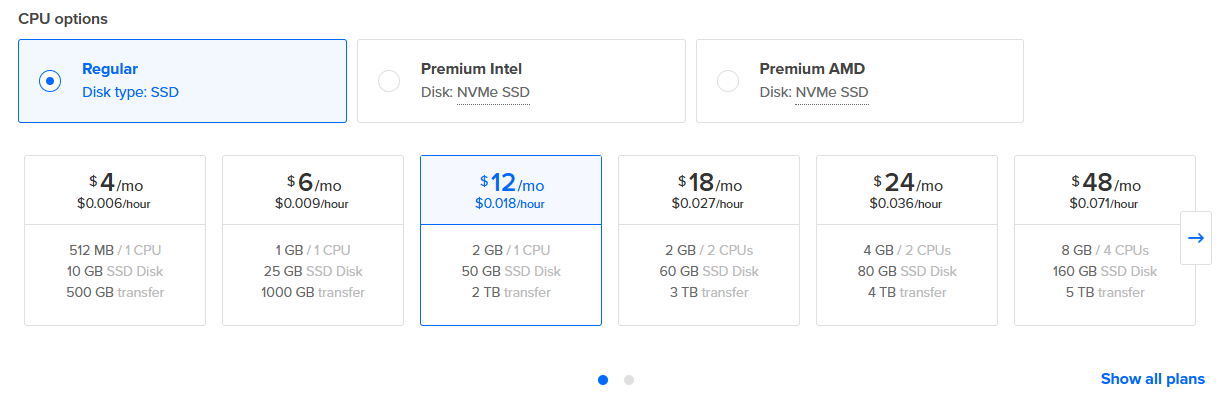
- 3 VM droplets 2vcpu & 2GB memory
- Docker installed in each VM
Digital Ocean Page
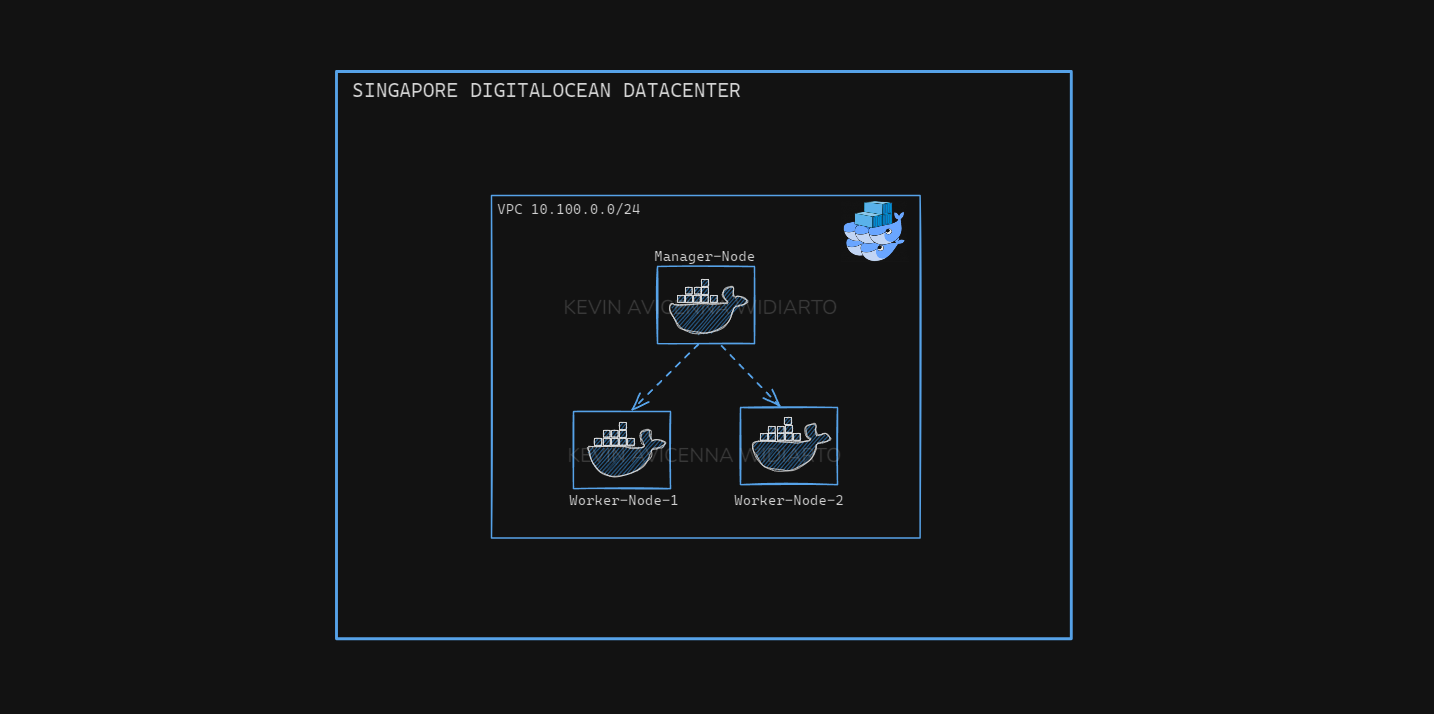
First we need to set up 3 VMs to make them 1 Manager and 2 Workers
visit www.digitalocean.com then select droplets
then select the region closest to us, with this I choose Singapore
 then adjust the os and specifications we need, I use Ubuntu 22.04 with 1vcpu, 2GB memory & 50 Gb Storage, kvn-digitalocean-lab1

Install Docker in each VM
After complete provision 3 vm, we must install docker on each machine we use.
# Add Docker's official GPG key:
sudo apt-get update
sudo apt-get install ca-certificates curl
sudo install -m 0755 -d /etc/apt/keyrings
sudo curl -fsSL https://download.docker.com/linux/ubuntu/gpg -o /etc/apt/keyrings/docker.asc
sudo chmod a+r /etc/apt/keyrings/docker.asc

# Add the repository to Apt sources:
echo \
  "deb [arch=$(dpkg --print-architecture) signed-by=/etc/apt/keyrings/docker.asc] https://download.docker.com/linux/ubuntu \
  $(. /etc/os-release && echo "${UBUNTU_CODENAME:-$VERSION_CODENAME}") stable" | \
  sudo tee /etc/apt/sources.list.d/docker.list > /dev/null
sudo apt-get update

sudo apt-get install docker-ce docker-ce-cli containerd.io docker-buildx-plugin docker-compose-plugin

sudo usermod -aG docker $USER
newgrp docker
Install Swarm
then after install docker we should running swarm init in manager node
docker swarm init --advertise-addr our-private-ip

then paste token in all worker node
docker swarm join --token *************

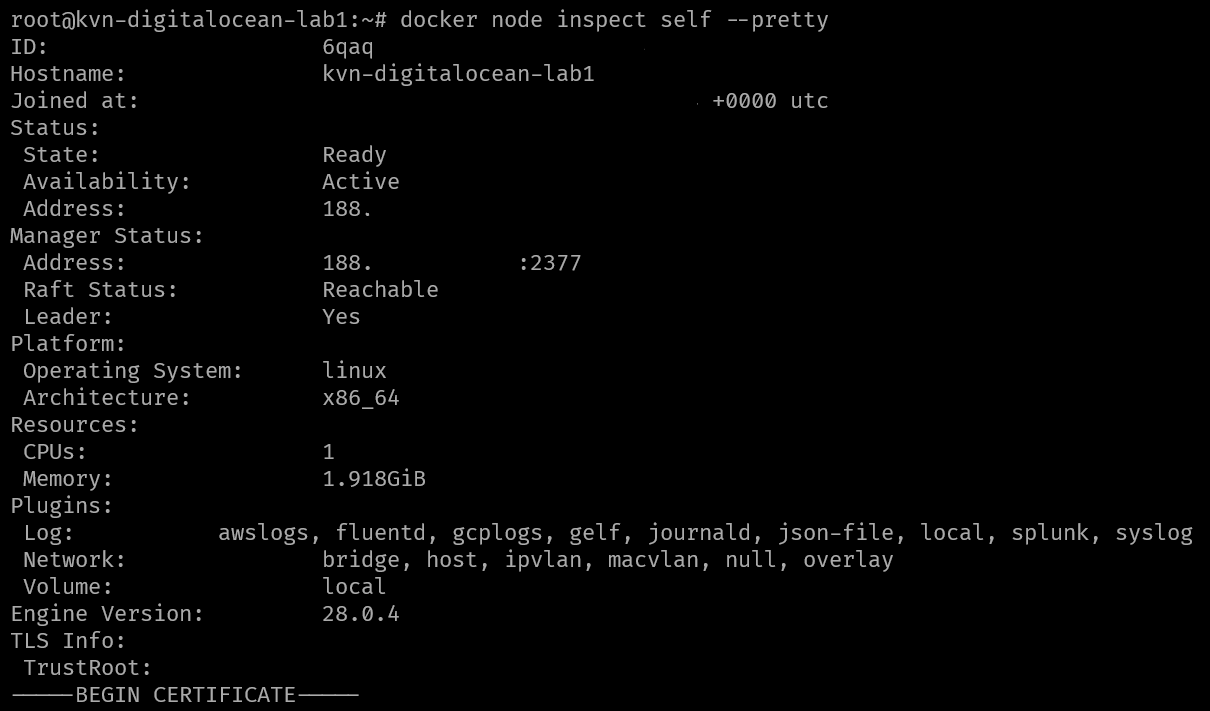
now we can check the node is already joined and ready
docker node ls

docker node inspect self --pretty
Testing running apps
Now we can try to replica the docker swarm.
docker network create \
--driver overlay \
--subnet 10.0.9.0/24 \
--gateway 10.0.9.99 \
my-network
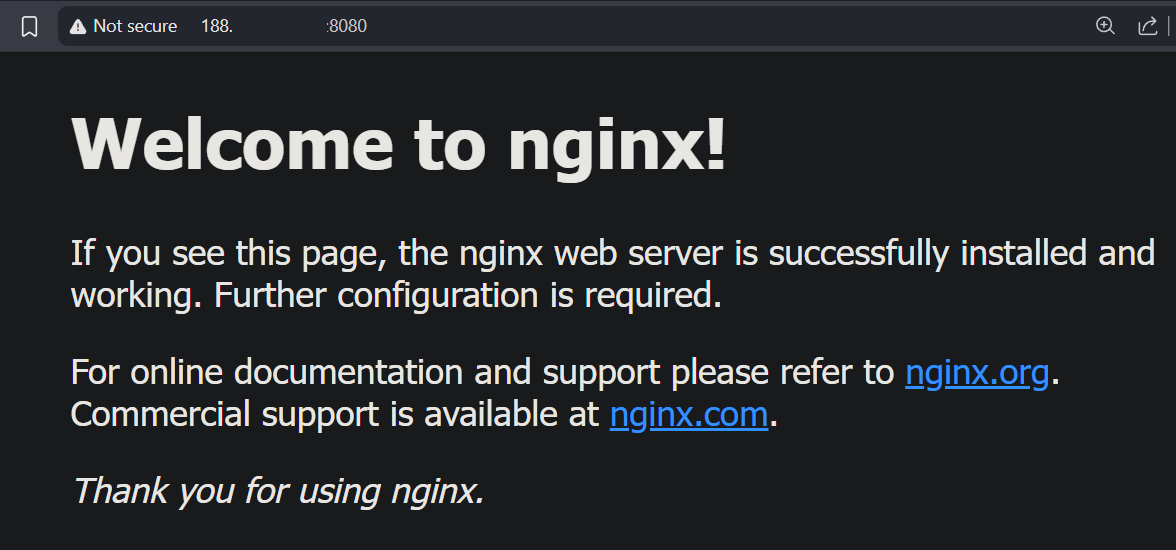
docker service create \
--name my-web \
--replicas 3 \
--network my-network \
--publish published=8080,target=80 \
nginx
note that docker requires a network overlay
docker service ls

now we can access through our ip address
now clean up
docker service rm my-web
Deploy our personal Web
then we can deploy with my code , before that create a wpnet network
docker network create \
  --driver overlay \
  --subnet 10.0.9.0/24 \
  --gateway 10.0.9.99 \
  wpnet
then create a code like the one below
version: '3.8'

services:
  db:
    image: mariadb:10.6.22-jammy
    command: --default-authentication-plugin=mysql_native_password
    volumes:
      - project_db_data:/var/lib/mysql
    environment:
      MYSQL_ROOT_PASSWORD_FILE: /run/secrets/db_root_password
      MYSQL_DATABASE: wordpress
      MYSQL_USER: wordpress
      MYSQL_PASSWORD_FILE: /run/secrets/db_password
    secrets:
      - db_root_password
      - db_password
    healthcheck:
      test: ["CMD", "mysqladmin", "ping", "-h", "localhost"]
      interval: 30s
      timeout: 10s
      retries: 5
    networks:
      - wpnet
    deploy:
      replicas: 2
      restart_policy:
        condition: on-failure

  wordpress:
    image: wordpress:latest
    volumes:
      - project_wp_data:/var/www/html
    ports:
    - target: 80
      published: 80
      mode: host
    environment:
      WORDPRESS_DB_HOST: db
      WORDPRESS_DB_USER: wordpress
      WORDPRESS_DB_PASSWORD_FILE: /run/secrets/db_password
      WORDPRESS_DB_NAME: wordpress
    secrets:
      - db_password
    networks:
      - wpnet
    deploy:
      replicas: 2
      restart_policy:
        condition: on-failure
      update_config:
        parallelism: 1
        delay: 10s

volumes:
  project_db_data:
  project_wp_data:

secrets:
  db_root_password:
    file: secret/db_root_password.txt
  db_password:
    file: secret/db_password.txt

networks:
  wpnet:
    driver: overlay
    attachable: true
then execute this command
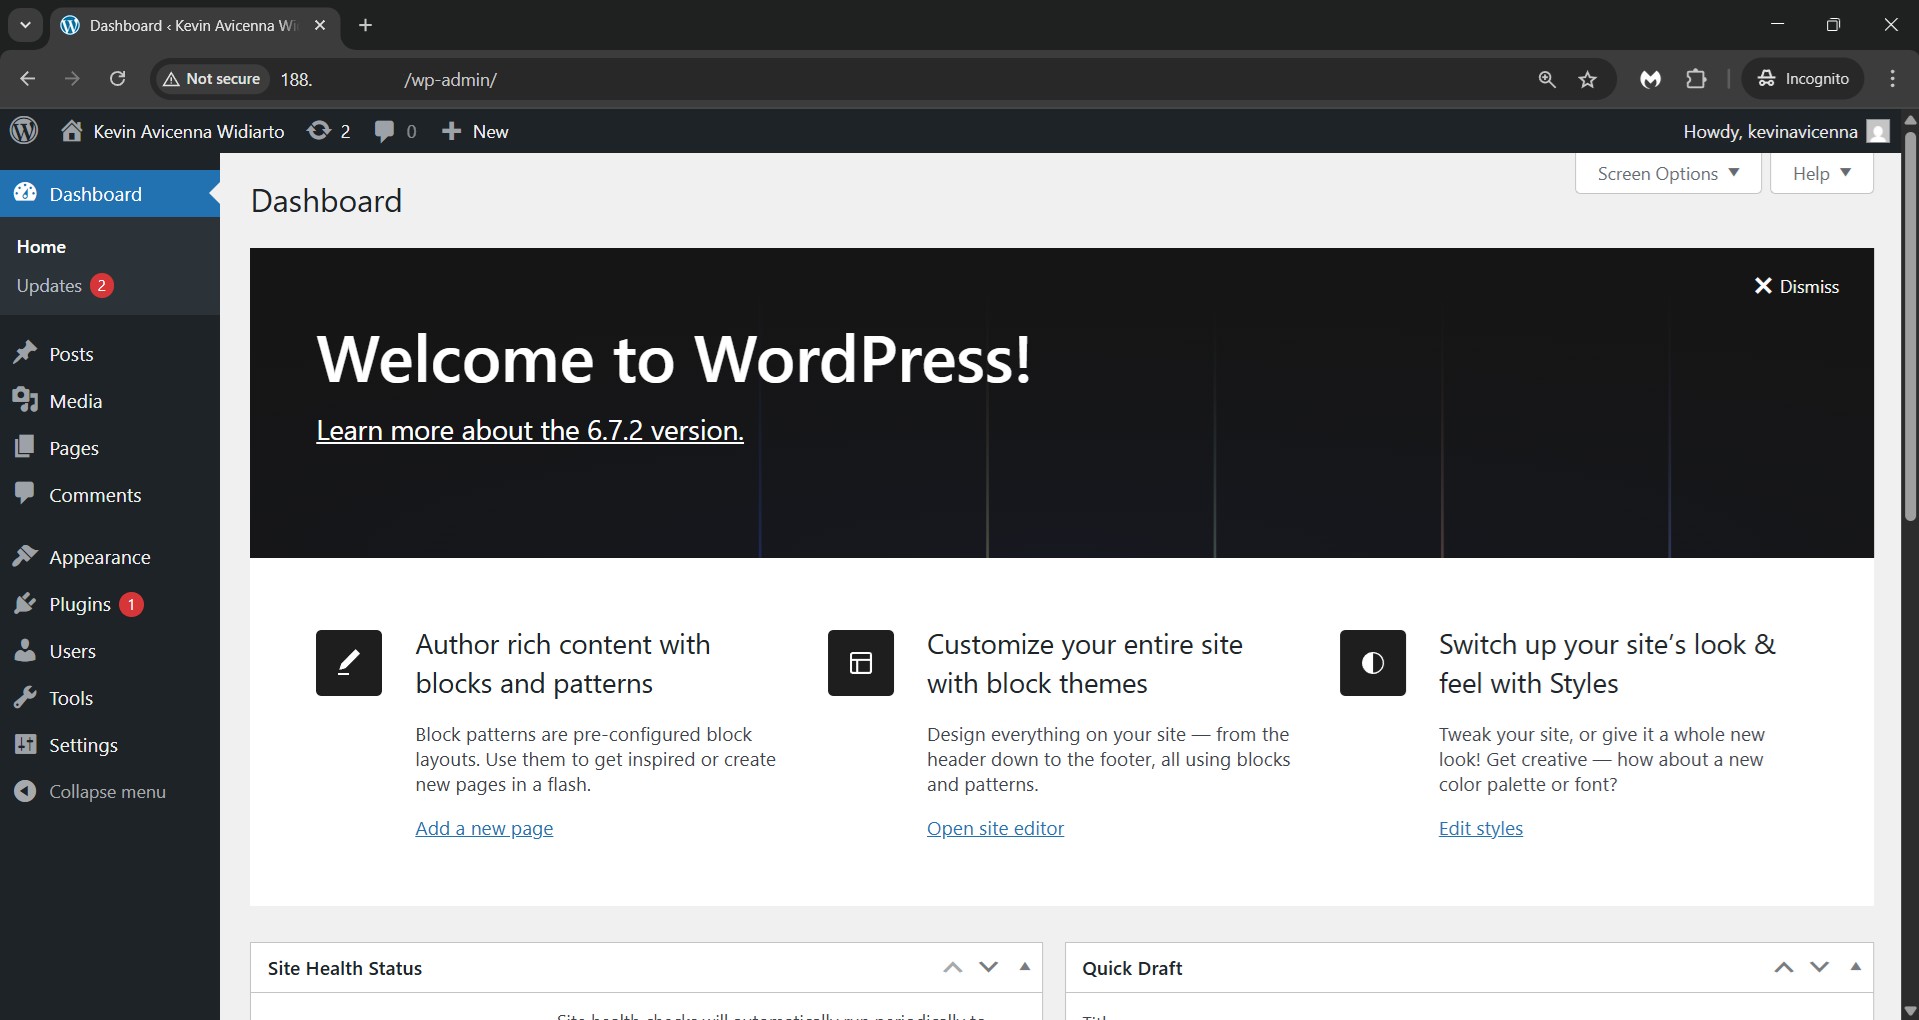
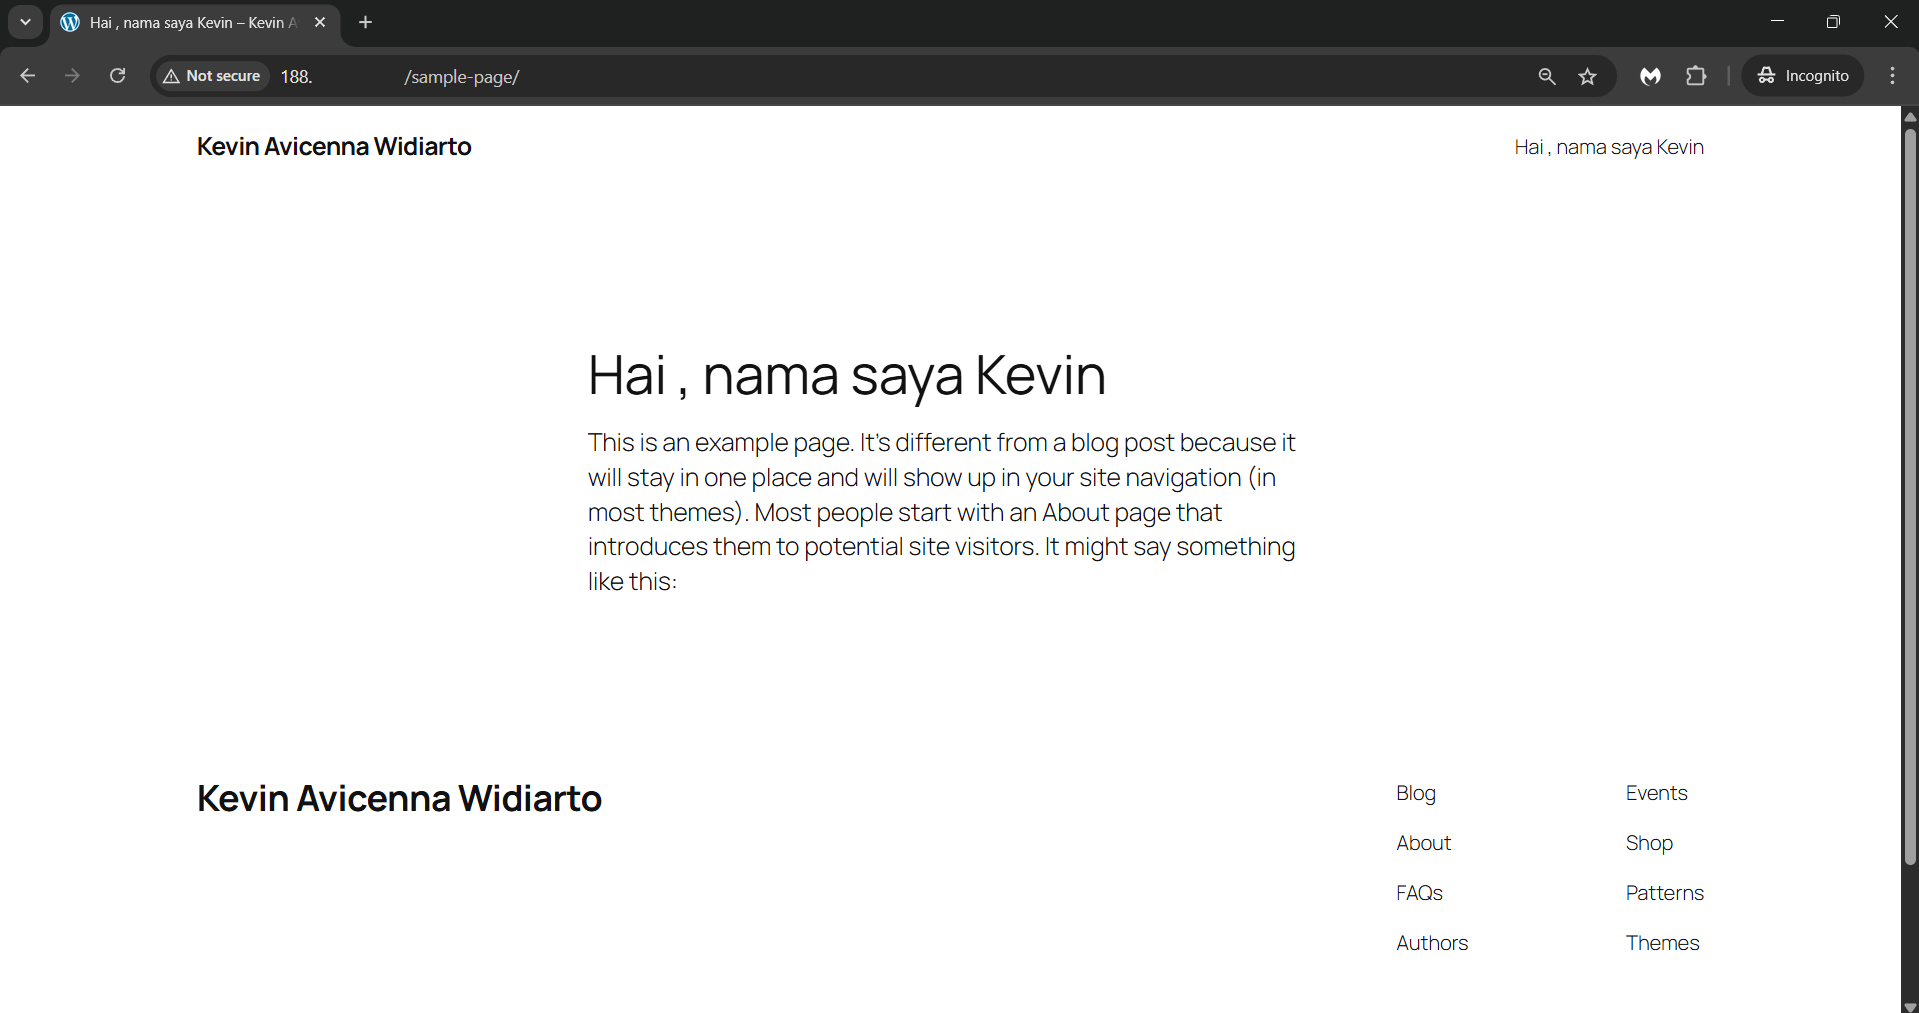
docker stack deploy -c /root/compose/wordpress-stack.yaml wordpress-stack


then if the stack has been deployed , we can see
curl http://our-ip-public-address
Reminder
please dont expose your database on internet like this :((
and make sure the database cannot exposed in internet like this
